How to use the Edulink One interactive demo
You can experience how Edulink One works in schools by exploring a set of trial data on our dedicated demonstration site.
Here are a few helpful hints to get the most out of the Edulink One demo.

Navigating in Edulink One
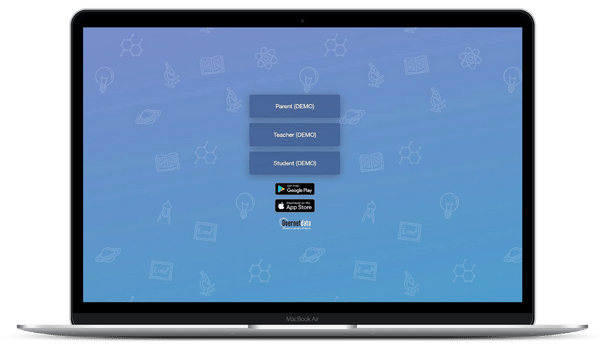
When you enter the demo, you’ll be taken to www.edulinkone.com, our software site. At the demo screen, you can choose to be a
- Teacher
- Parent
- Student
You can switch easily between user types by clicking the back button and choosing a different user.
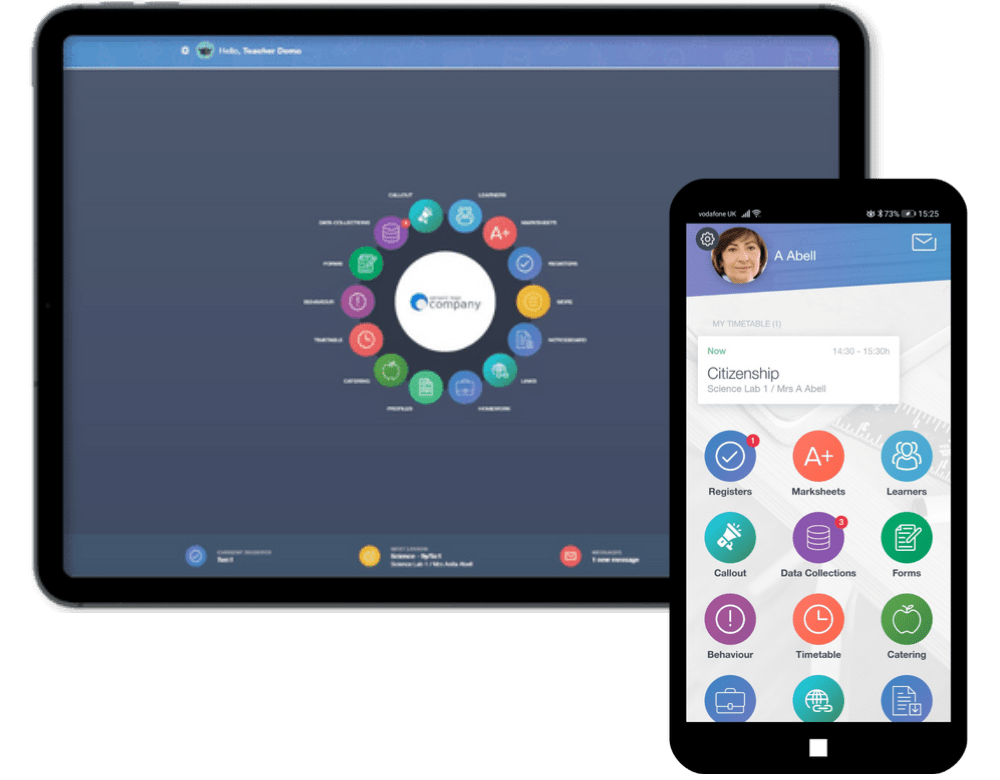
When you’re in the Edulink One demo site, you’ll see a ‘wheel’ of icons if you’re using the web version, or a grid of icons if you’re using the app version. Simply click on the icons to view each area and see how easy it is to navigate and use. The icons your school users can see are customisable, as is the logo/picture in the centre, which would usually be your school logo or student photos.
You can add new items to any of the functions e.g. behaviour points, parents evenings, send trial messages etc but please note they won’t be stored in this trial version (sometimes people write rude things which we wouldn’t want you to come across!).

Have more questions?
Request a one-to-one demo with us here – let us know what problems you are wanting to solve and we can tailor it to your needs.
If you want to see the administration side and how it could work in your school, sign up for a free 30-day trial, using your school’s data so you can get a feel for Edulink One.
Short on time? Check out our product videos on YouTube.
Have in-depth questions? Take a look at our Knowledge Hub for our technical support.


 Back to Edulink One